AWS Onboarding with Terraform
You can connect an AWS account to Panoptica using a Terraform script, without using the Panoptica console UI. Simply follow these steps, substituting the environment variables below into the script.
Organization onboarding with Terraform is not supportedPanoptica's Terraform script is designed to onboard a single AWS account at a time.
Including it in a script to onboard multiple accounts simultaneously is not supported.You can, however, include it in a script that will onboard your accounts one at a time.
Privileges requiredIn order to integrate Panoptica with your AWS account, the user running the Terraform script should have administrative rights to the AWS account.
If administrative rights are not available, the user launching the script needs to be able to create/delete roles, create/delete policies, attach policies to roles, launch/delete stacks, and, if enabling serverless scans, create/delete Lambdas. See AWS Onboarding - Roles, Policies, and Permissions for further details.
Onboard account
- Create a main.tf file in your working directory.
- Paste the following content into the main.tf file:
module "onboarding" { source = "https://panoptica-public-lightspin-prod-1.s3.us-east-2.amazonaws.com/terraform/terraform_onboarding_module.zip" external_id = "{{ external_id }}" account_display_name = "{{ account_display_name }}" cve_scan_enabled = {{ cve_scan_enabled }} scanner_account_id = "{{ scanner_account_id }}" region = "{{ region }}" tenant_id = "{{ tenant_id }}" serverless_scan_enabled = {{ serverless_scan_enabled }} } - Fill in the actual inputs wherever double brackets {{ }} appear. See Environment variables below for details. All fields are required.
- Set you execution environment, using the credentials of the AWS account you want to onboard:
export AWS_ACCESS_KEY_ID= {{ your access key id }}r export AWS_SECRET_ACCESS_KEY= {{ your secret access key }} - Run
terraform initto download our module“ - Run
terraform applyto onboard your account
Environment variables:
source: not really an environment variable, since it's a fixed URL to the S3 bucket where you'll find the Terraform file for onboarding your account to Panoptica.
external_id: the external identifier that Panoptica will use when creating the security audit role, for the trust relationship between your account and Panoptica. A trust relationship in AWS defines what entities can assume a role that you've created.
For an explanation of external IDs and trust relationships in the AWS User Guide, please see: How to use an external ID when granting access to your AWS resources to a third party
account_display_name: the display name of your account, as you want it to appear in Panoptica
cve_scan_enabled: indicates whether to activate CVE Scanning or not; this is a true/false field
scanner_account_id: If CVE Scanning is enabled, this is the account that will host the CVE scans of the onboarded account. If you did not enable CVE scanning, or want us to host your CVE scan, enter an empty string as input here. ("")
serverless_scan_enabled: indicates whether to enable serverless scans on this account or not; this is also a true/false field. Serverless scanning scans your Lambda functions using a dedicated Panoptica Lambda.
region: the region Panoptica will use for the onboarding. If you enable serverless scanning, this is the region where Panoptica's lambda will be deployed.
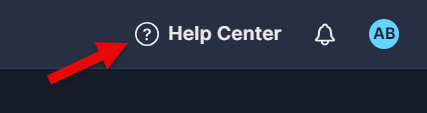
tenant_id: your company identifier in Panoptica, which can be found in the top right corner of the Panoptica console. Click the circled question mark to copy your tenant ID.
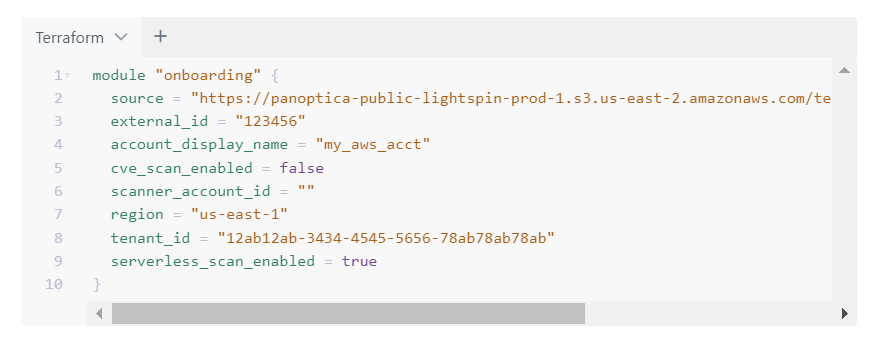
A sample completed script might look like this:
Delete account
To remove the AWS account you onboarded via Terraform, simply run the destroy command:
terraform destroyRunning this command will do the following, in this order:
- Notify our internal service about the role deletion.
- Wait three (3) minutes while we:
- Delete the Panoptica EC2 scan infrastructure from your account (if you had enabled CVE scanning, and hosted the scan in your own account).
- Delete any credentials we saved to connect to your account.
- The
terraform destroyoperation will resume running, and delete all assets created by theterraform applycommand.
Roles and permissionsSee AWS Onboarding - Roles, Policies, and Permissions for details concerning the roles and policies created when connecting your AWS account to Panoptica.
Updated 10 months ago