Getting Started
To get started with Cisco Panoptica, sign up at the Panoptica homepage for free. You can create a dedicated account with your email address, or use one of several SSO options. Once your account is created, you simply log in and start connecting Panoptica to your cloud environment.
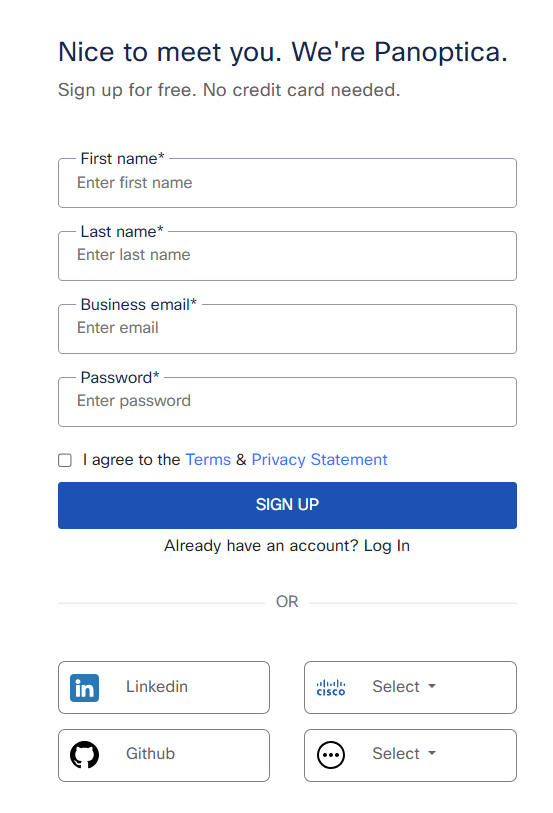
Create your Panoptica account
To create a new Panoptica account, navigate to https://www.panoptica.app/sign-up. Enter your contact details and a secure password, then click Sign Up. Alternatively, you can select one of the SSO options Panoptica integrates with: LinkedIn, GitHub, Google, or (of course) Cisco.
Log in to Panoptica
After entering your details, check your Inbox for an email from Outshift asking you to confirm you Panoptica account. After verifying your email address, you'll be bounced back to the Login page. Enter the email and password you registered with, and log in to the Panoptica console.
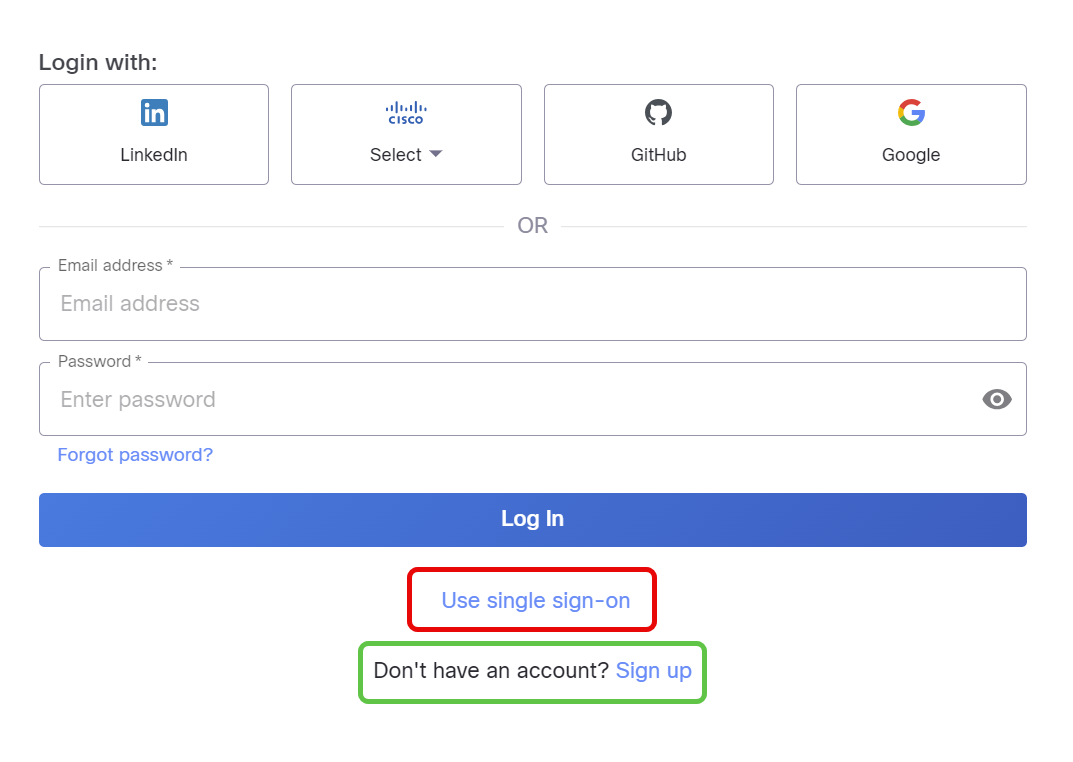
If you set up your account using LinkedIn, Cisco, GitHub, or Google credentials, click the appropriate logo to log in.
If your system administrator has set up single sign-on (SSO) for your organization, click Use single sign-on, indicated in red below. You may be redirected to your identity provider to complete the authentication process. If you would to learn how to set up SSO for your organization, contact your Customer Success Team in Cisco.
If you happen to reach the Login page first, but don't have an account yet, no problem. Simply look for the Sign up link at the bottom of the screen, indicated in green below.
NoteIf you use a proxy, add the domain
eticloud.ioto the allowed list.
Deploy Panoptica
When you first log into Panoptica, you won't see much. The Dashboard Widgets, Prioritization Funnel, and other features are waiting for your data to start providing you with valuable security information. Here's the part where you start onboarding your assets (AWS, Azure, GCP, and/or Kubernetes); deploying our API Security controller; and connecting your SCM pipeline.
But first, we recommend reading through the Help Center page to learn about Panoptica's capabilities and how to use this documentation to get the most out of what Panoptica has to offer.
Updated 10 months ago