User Management
The Panoptica system provides user management functionality. From within the Panoptica console, users can view screens, apply actions, and manage their accounts. Users can apply actions in the scopes they are members of according to their attached roles.
Note:Only users with an Owner Role can access the user management interface.
User Roles
The following are the available roles that can be assigned:
- Owner
The owner is the most privileged role in the system. These users can invite new users, manage existing users, create and manage scopes, and add and manage accounts. They can perform any action in the system and view any screen. - Ops
These users can apply actions on accounts in the scopes to which they belong. They can add, edit and delete accounts, start scans, add integrations, and perform any action in the system other than managing users and scopes. - Team Lead
These users have limited access to Panoptica. They can start scans, manage risks and findings but cannot change platform settings. - Viewer
These users have view-only access to all of the accounts, data, and findings in the scopes they belong to.
Manage Users
To access User Management in the Panoptica console, navigate to Settings in the main navigation pane, then select the Users & Scopes tab. On the default Users tab you'll see a table with all the users who have been added to your Panoptica tenant.
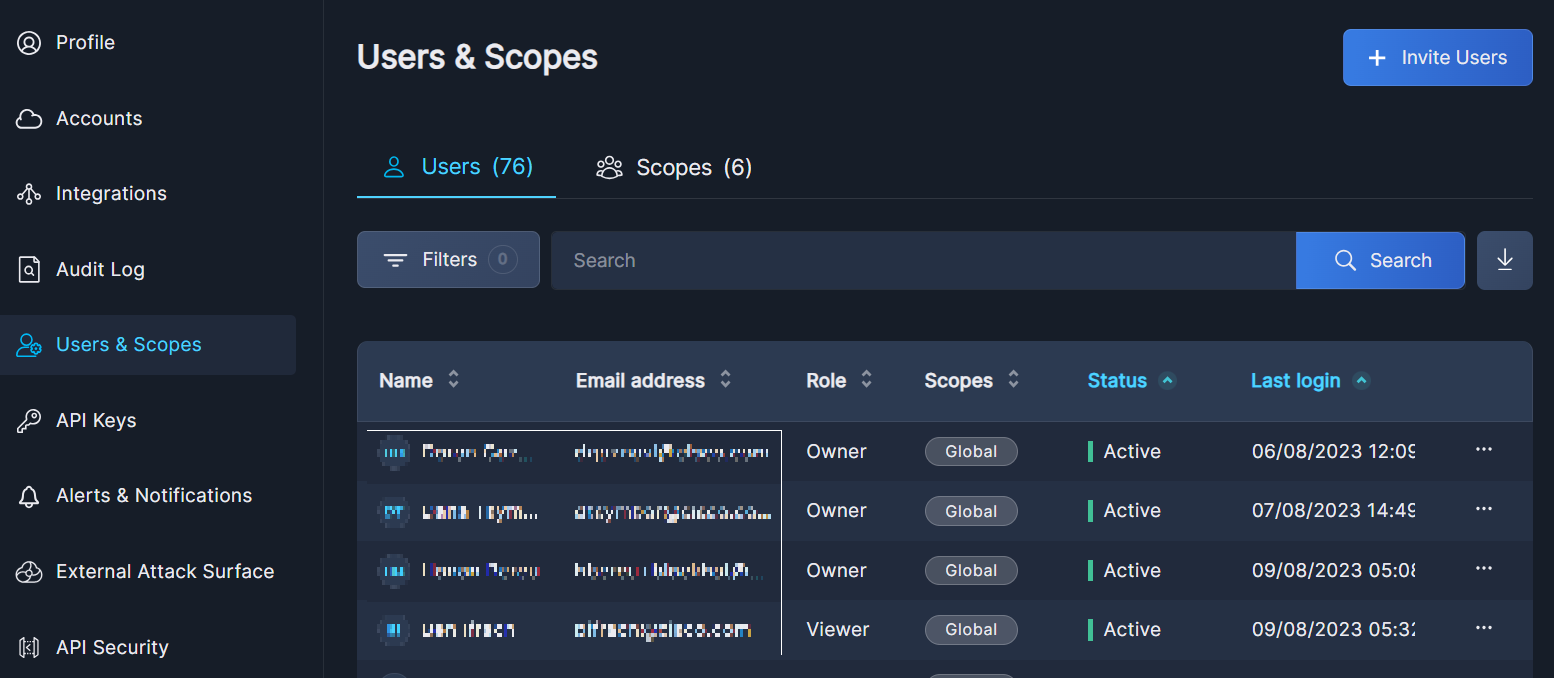
The number beside "Users" indicates the number of people who have been invited to join your tenant, not necessarily active users. A new user's status will remain "Pending" until they first log into the system.
- Click the Filter button to narrow the list according to Role, Status, and/or Scope
- Use the Search bar to look for all or part of a users name or email address.
To clear the search, delete any text in the field and click Search on an empty field. - If you have a lot of users, you can configure how many names are displayed on each page, from 10 to 200 lines. This option appears at the bottom of the table.
Click the down arrow (↓) to download the list of users in CSV format. This is useful for record-keeping and for sharing this information with others.
In addition to Name and Email Address, the User Management table provides the following information about each user:
- Role: Owner, Ops, or Viewer
- Scopes: Global and/ or Specific
- Status: Active or Pending
- Last login: date and time
Invite Users
To invite a new user to your Panoptica tenant, follow these steps:
- Click the +Invite Users button on the User Management tab to open a new window
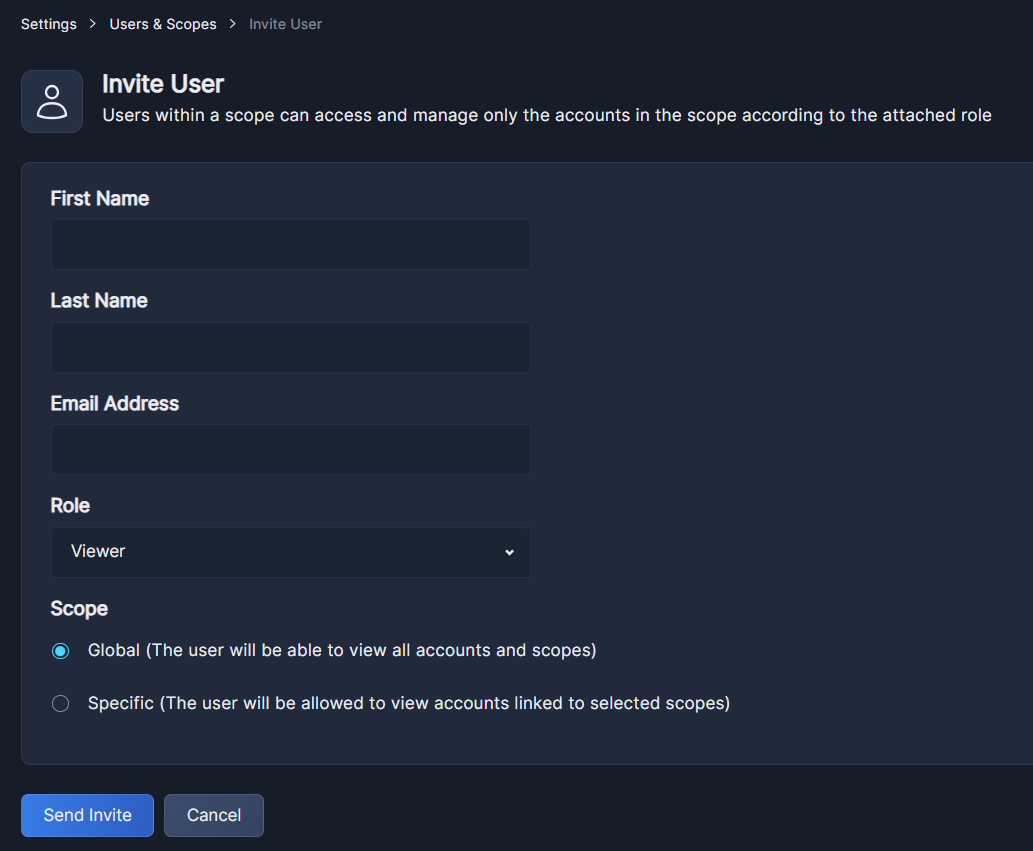
- Enter the new user's First and Last names
- Enter their email address
Email AddressGetting the email address right is important, as that is how users will receive their Panoptica invitation. The email address will also serve as their username.
- Select a Rolefor the new user: Owner, Ops, or Viewer
- Select the Scope
- Users in the Global scope can view all accounts and scopes.
- Specify a scope that you have defined in Scope Management to limit their visibility to the selected scopes. You can use the search bar in the drop down menu to search for specific accounts by their name or ID.
- Click Send Invite
Invitation LinkLet your colleagues know that the email will be coming from an
outshift.comaccount. The link in the invitation is valid for 7 days.
Edit Users
To make any changes to the users in your Panoptica tenant, click the three dots (•••) at the end of any row to open a drop-down list of actions you can perform: Edit or Delete.
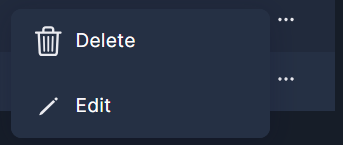
Selecting Edit in the action menu pops up an Edit User, window where you can update a user's name, email address, role, and/or scop
Resend Invitation
Until the recipient accepts the invitation and sets up their Panoptica account, their status will remain Pending. If you need to resend the email invitation—either because they didn't see it or simply didn't accept it in time—you can resend their invitation. Simply click the three dots (•••) at the end of their row in the User Management table to open a drop-down list of actions. If the Status is Pending, there will be an extra action: Resend Invitation.

Let the invitees know that they should look for an email from an outshift.com account, and that the link is valid for seven days.
Delete Users
If you want to remove a user from your Panoptica tenant, select Delete in the action menu. This will pop up a window asking you to confirm the removal. Note that deleting a user cannot be undone.
Updated 10 months ago