Best Practices: Baseline Setting and Fine Tuning
The recommended best practices below will help you maintain your Panoptica environment as accurately as possible.
Phase 1
In this phase, you will fine tune the baseline for Panoptica's risk score calculation. This phase should be completed within the Discovery > Assets tab.
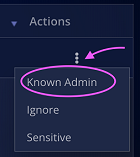
- Known Admin - Setting an asset (usually a role or user) as a Known admin will ignore high privilege alerts and dynamic remediations on it.
In Discovery > Assets, go to the filters option. In the Labels section, select the Admin filter to see all of the roles/users that have admin privileges.
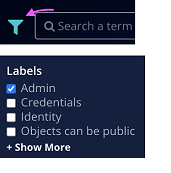
Go over the list and see which ones should have admin privileges. From the menu on the right side, mark these as Known Admin.
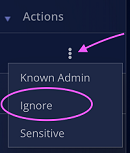
- Ignore - Setting an asset as ignored will dismiss any alerts found on it.
Go over your environment and mark with Ignore any assets that you don't want to get high
alerts on. For example:
- Any asset in the Dev environment that you are ok with being routinely vulnerable.
- Any dummy asset that is spun occasionally for tests.
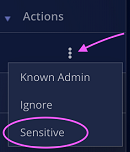
- Sensitive - Setting an asset as sensitive will prioritize higher severity alerts on it.
Go over your environment and mark as Sensitive any crucial assets. For example:
- Any production asset that should not be vulnerable.
- S3 buckets with sensitive/valuable data such as PII.
- EC2s that are responsible for crucial jobs.
Phase 2
After completing the first part, wait until at least one scan is completed. The second phase should be done on the Security Findings and Attack Paths tabs.
- Dismiss - Dismissing a finding will hide it and acknowledge any alert on it.
Go over the findings and attack paths, and dismiss any of them you encounter that is either:
- Part of your environment's lifecycle and cannot be avoided.
- A risk you can accept.
- A risk you are mitigating somehow that is not identified by Panoptica.
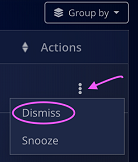
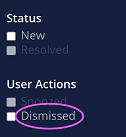
After an asset is marked as Dismissed, any finding or attack path related to it will be hidden from the relevant list, and can be viewed by applying the Dismissed filter under the User Actions section:
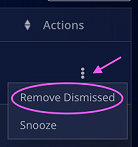
Un-dismissing can be done from the same menu on each finding or attack path:
Updated 5 months ago